
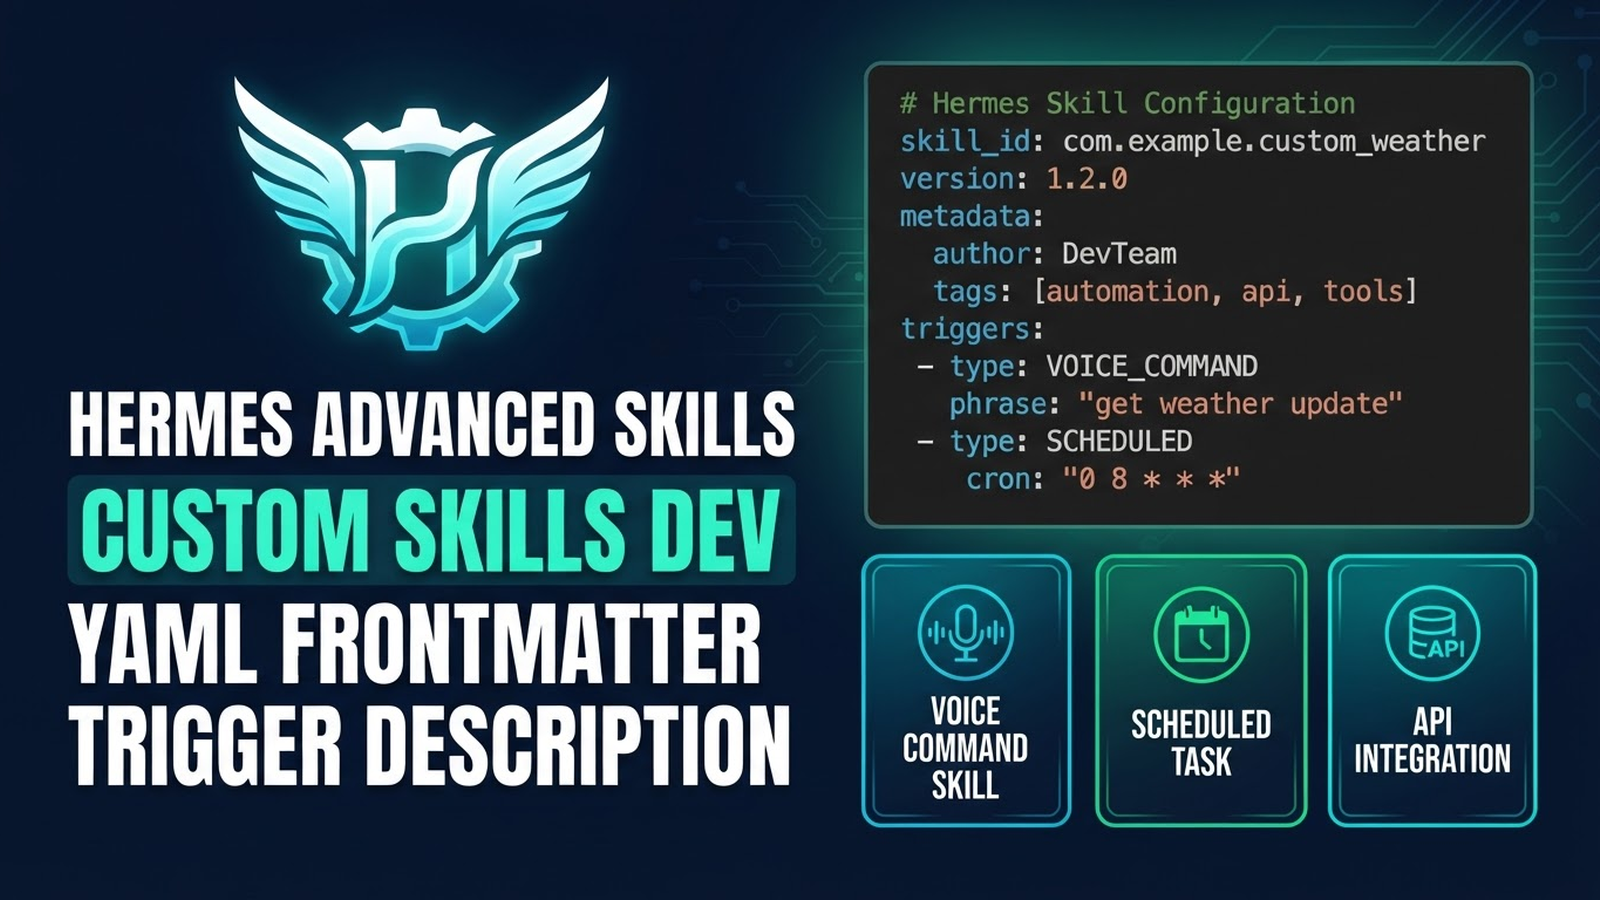
Hermes Agent: How to Write Custom Skills — Complete Guide
A skill in Hermes is a Markdown file with YAML frontmatter, loaded on trigger. This is a new form of code: instructive Markdown with metadata. Let's break down how to turn any instruction into a working skill in 5 minutes.
1. SKILL.md File Anatomy
# .hermes/skills/my-skill.md
---
name: my-skill                    # unique name (for loading)
description: "Use when..."       # trigger for auto-load
tools: [bash, read, write, edit, grep, github]  # available tools
model: "anthropic/claude-3.5-sonnet"  # optional: custom model
---

# My Skill

## When to use
Description of situations when agent should load this skill.

## Procedure
1. Step 1
2. Step 2
3. Step 3

## Pitfalls
What can go wrong and how to avoid.

## Examples
Usage examples.
2. Description Field — Main Trigger
Agent only sees description before loading skill. Write triggers:
"Use when user wants to deploy to production""Use when code review is needed before commit""Use when database migration is required""Use when creating a new PR with tests""Use when debugging a failing test"
More specific = more accurate auto-loading. Don't write: "Use for git stuff". Write: "Use when user wants to create a feature branch and open a PR".
3. Tools Field — Scope & Safety
Restrict skill to only needed tools — safety and focus:
[bash, read, write, edit, grep]— basic file ops[bash, read, write, edit, grep, github]— + GitHub API[bash, read, write, edit, grep, postgres, mysql]— + databases[browser, read, write, edit]— web scraping
Don't give extra tools — it's safety and focus.
4. Ready-to-Use Examples (Copy & Adapt)
🔧 git-workflow — Branching, Commits, PRs
---
name: git-workflow
description: "Use when working with git: branching, commits, PRs. Without it the agent makes chaotic history."
tools: [bash, read, write, edit, grep, github]
---

# Git Workflow

## When to use
Use when user wants to work with git: create branches, commit, push, open PR.

## Procedure
1. Check current branch: git branch
2. Create feature branch: git checkout -b feature/{name}
3. Make changes
4. Stage: git add .
5. Commit: git commit -m "feat: {description}"
6. Push: git push origin feature/{name}
7. Create PR: gh pr create --title "{title}" --body "{template}"
8. Wait for CI: gh pr checks --watch

## Pitfalls
- Don't commit directly to main
- Always run tests before push
- Use conventional commits

## Examples
- "Create branch for new feature"
- "Commit my changes with message"
- "Open PR for this feature"
🧪 test-runner — How to Run Tests in Project
---
name: test-runner
description: "Use when tests need to be run in the project. Knows commands, flags, environment."
tools: [bash, read, write, edit, grep]
---

# Test Runner

## When to use
Use when user asks to run tests, or when code changes need verification.

## Procedure
1. Detect project type: package.json, Cargo.toml, pyproject.toml, go.mod
2. Run appropriate command:
   - Node.js: npm run test / npm run test:watch
   - Rust: cargo test
   - Python: pytest / pytest -xvs
   - Go: go test ./...
3. Parse output, report failures
4. If failures → suggest fixes

## Pitfalls
- Don't run tests in production
- Use --watch for development
- Check for flaky tests

## Examples
- "Run tests"
- "Run tests for user service"
- "Watch tests while I code"
👀 code-review — Review Checklist
---
name: code-review
description: "Use when code review is needed before commit. Checks for bugs, style, security."
tools: [bash, read, write, edit, grep]
---

# Code Review

## When to use
Use when user asks for code review before commit or PR.

## Procedure
You are a senior code reviewer. Focus on:
1. Security vulnerabilities (SQLi, XSS, path traversal, secrets)
2. Performance issues (N+1, unnecessary re-renders, memory leaks)
3. Code style consistency (ESLint, Prettier, project conventions)
4. Test coverage gaps (unit, integration, e2e)
5. Proper error handling (try/catch, Result types)
6. Documentation (JSDoc, README updates)

Be concise. Output format:
- **Critical**: must fix before merge
- **Warning**: should fix
- **Nitpick**: optional improvement
- **Praise**: good patterns noticed
🚀 deploy-pipeline — Full Deploy Pipeline
---
name: deploy-pipeline
description: "Use when deploying to production. Runs full pipeline with rollback."
tools: [bash, read, write, edit, grep, github]
---

# Deploy Pipeline

## When to use
Use when user wants to deploy to production.

## Procedure
1. Run tests: npm run test
2. Build: npm run build
3. Check bundle size: npm run analyze
4. Create GitHub release: gh release create
5. Deploy: npm run deploy
6. Verify health: curl https://myapp.com/health
7. Notify: "Deploy v{version} done!"

Rollback on failure:
- git revert HEAD
- npm run deploy
- Notify: "Rollback done"

Error handling:
- If tests fail → stop, notify "Tests failed"
- If build fails → stop, notify "Build failed"
- If health check fails → auto rollback
5. Where to Store Skills
- Global (all projects):
~/.hermes/skills/ - Project-specific:
.hermes/skills/in repo root
Agent checks both folders, project ones take priority.
6. Debugging Skills
hermes skills list— list loaded skillshermes skills show my-skill— skill contenthermes skills validate— validate all skills syntaxhermes logs --skill my-skill— skill execution logs
7. Best Practices
- One skill = one atomic task
- Always write Pitfalls (what can go wrong)
- Test on simple example before production use
- Use specific description for accurate auto-loading
- Limit tools to minimum necessary
- Version skills in git (.hermes/skills/ in repo)
8. Tiny Test: Where to Put?
If needed in every dialogue → memory (user facts).
If only for specific task type → skill (procedure).
If only in this repo → CLAUDE.md (project details).
Temporary TODO → nowhere (in chat, in task).
Links: Official Skills | Documentation | Examples