
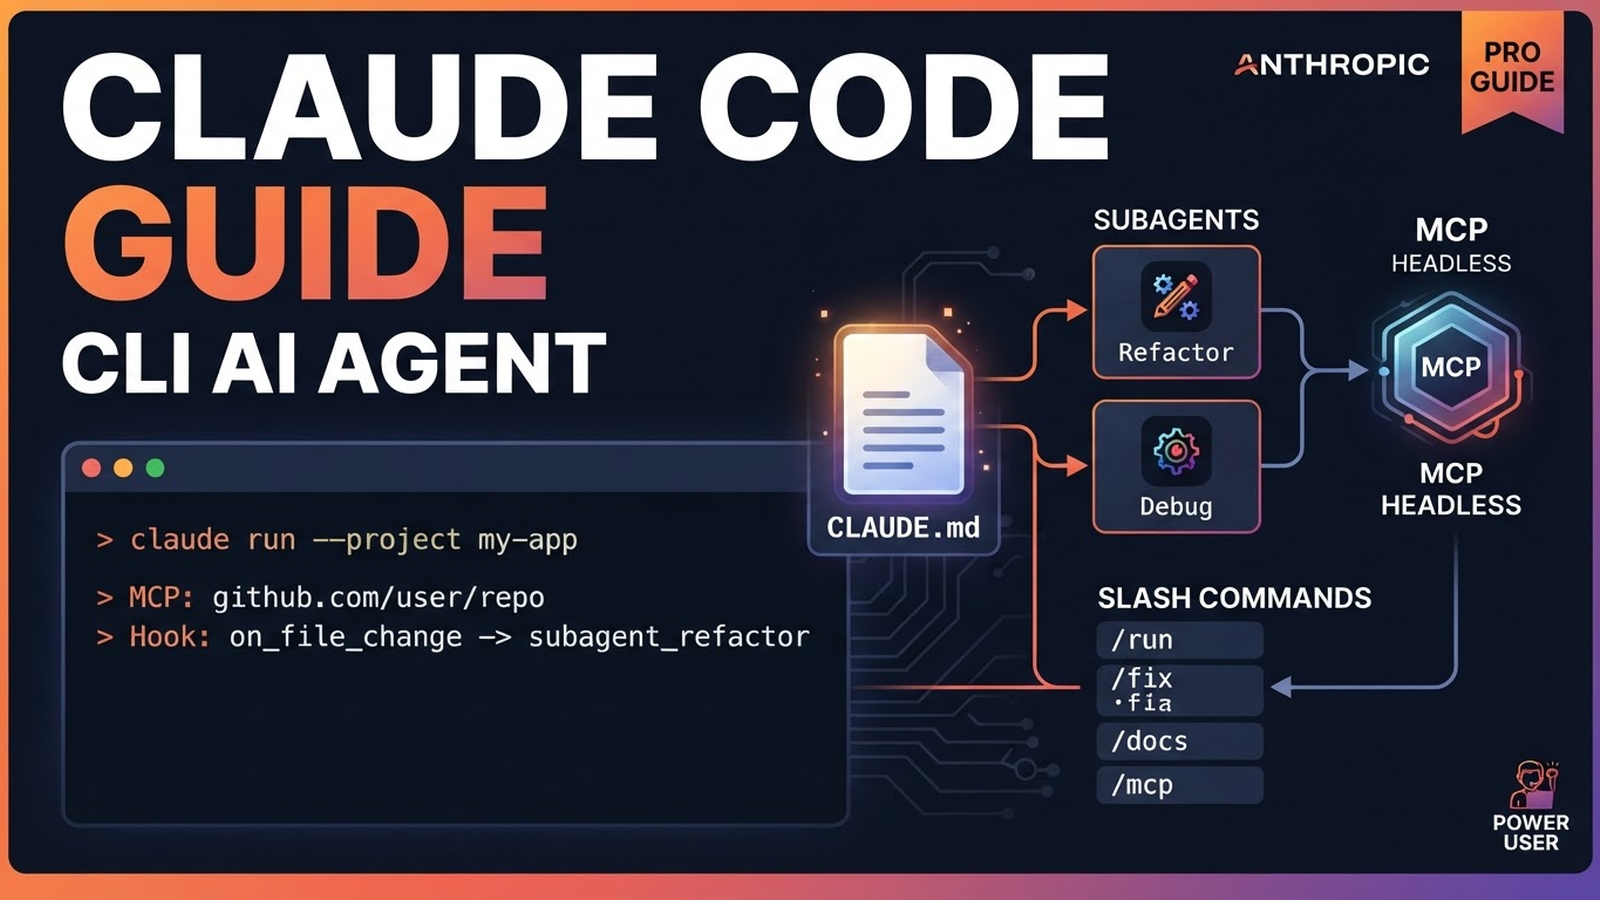
Claude Code: полное руководство по установке и мощным фишкам
Claude Code — это официальный CLI-агент от Anthropic, который живёт в вашем терминале и имеет прямой доступ к файлам, git, процессам. В отличие от веб-чата, он может читать/писать код, запускать тесты, коммитить, деплоить — всё в вашем репо.
1. Установка и быстрый старт
# macOS (Homebrew)
brew install claude-code

# Linux / WSL
curl -fsSL https://claude.ai/install.sh | bash

# Или через npm (все платформы)
npm install -g @anthropic-ai/claude-code
После установки:
claude auth login    # авторизация через браузер (нужен Anthropic аккаунт)
claude               # запуск интерактивного режима
2. CLAUDE.md — память проекта (самое важное!)
Создайте файл CLAUDE.md в корне репо — он автоматически подгружается в каждый контекст. Это избавляет от повторных объяснений на каждом запуске.
# CLAUDE.md — пример для TypeScript/React проекта
## Stack
- TypeScript 5.x, React 18, Vite
- Tailwind CSS, shadcn/ui
- Vitest + React Testing Library
- ESLint (flat config), Prettier

## Commands
- dev: npm run dev
- build: npm run build
- test: npm run test
- lint: npm run lint
- typecheck: npm run typecheck

## Code Rules
- Не трогай папку .claude/ и .github/
- Компоненты в src/components/, хуки в src/hooks/
- Импорты: абсолютные через @/ (tsconfig paths)
- Состояния: useState для UI, Zustand для глобального
- Асинхронность: try/catch + Result pattern

## Git
- Ветки: feature/*, fix/*, chore/*
- Коммиты: Conventional Commits (feat:, fix:, chore:)
- PR: squash merge, delete branch
Про-совет: Держите CLAUDE.md актуальным — агент будет следовать ему буквально.
3. Hooks — автоматизация на событиях
Хуки в .claude/settings.json запускают команды на событиях.
{
  "hooks": {
    "PostToolUse": [
      {
        "matcher": "Write|Edit|MultiEdit",
        "hooks": [
          {"type": "command", "command": "npm run lint -- --fix"},
          {"type": "command", "command": "npm run format"}
        ]
      }
    ],
    "PreToolUse": [
      {
        "matcher": "Bash",
        "hooks": [
          {"type": "command", "command": "echo 'Running: $TOOL_INPUT'"}
        ]
      }
    ],
    "Notification": [
      {"type": "command", "command": "notify-send 'Claude Code' 'Task completed'"}
    ]
  }
}
Типичные кейсы: автоформат после записи, линт перед коммитом, логи при ошибке, уведомления в системе.
4. Subagents — специализированные под-агенты
Создавайте своих агентов в .claude/agents/ с собственными системными промптами и правами.
# .claude/agents/code-reviewer.md
---
name: code-reviewer
description: "Use when code needs review before commit. Checks for bugs, style, security."
tools: [Read, Grep, Glob, Bash]
---

You are a senior code reviewer. Focus on:
1. Security vulnerabilities (SQLi, XSS, path traversal)
2. Performance issues (N+1, unnecessary re-renders)
3. Code style consistency
4. Test coverage gaps
5. Proper error handling

Be concise. Output format:
- **Critical**: must fix
- **Warning**: should fix
- **Nitpick**: optional improvement
# .claude/agents/test-writer.md
---
name: test-writer
description: "Use when new feature needs tests. Writes Vitest/RTL tests."
tools: [Read, Write, Edit, Bash]
---
You write comprehensive tests following project patterns.
- Unit tests for utils/hooks
- Integration tests for API routes
- Component tests with RTL
- Edge cases and error statesЗапуск: claude -a code-reviewer "Review my changes"
5. Headless режим — для CI/CD и скриптов
# Неинтерактивный запуск с JSON выводом
claude -p "Сделай миграцию БД: добавь поле created_at в users" --output-format json

# В GitHub Actions
- name: Run Claude Code
  run: |
    claude -p "$TASK" --output-format json |
    jq -r '.result' > output.md

# В cron / скриптах
claude -p "Обнови зависимости и запусти тесты" --output-format text
В headless режиме Claude Code становится инструментом автоматизации, а не только интерактивным чатом.
6. MCP серверы — подключите свои данные
Model Context Protocol позволяет подключить базы, API, браузер, GitHub — один MCP работает и в Cursor, и в Claude Desktop, и в Claude Code.
# .claude/settings.json
{
  "mcpServers": {
    "postgres": {
      "command": "npx",
      "args": ["-y", "@modelcontextprotocol/server-postgres", "$DATABASE_URL"]
    },
    "github": {
      "command": "npx",
      "args": ["-y", "@modelcontextprotocol/server-github"]
    },
    "filesystem": {
      "command": "npx",
      "args": ["-y", "@modelcontextprotocol/server-filesystem", "/path/to/project"]
    },
    "brave-search": {
      "command": "npx",
      "args": ["-y", "@modelcontextprotocol/server-brave-search", "$BRAVE_API_KEY"]
    }
  }
}
Популярные MCP: mcp servers list | awesome-mcp-servers
7. Slash-команды — свои переиспользуемые промпты
Файлы в .claude/commands/ — это шаблоны с параметрами.
# .claude/commands/deploy.md
---
name: deploy
description: "Deploy to production with checks"
---
1. Run full test suite: npm run test
2. Build: npm run build
3. Check bundle size: npm run analyze
4. Deploy: npm run deploy
5. Verify health endpoint

---
# .claude/commands/refactor.md
---
name: refactor
description: "Refactor code with safety checks"
args: ["target_file", "goal"]
---
Refactor $ARG_TARGET_FILE to $ARG_GOAL.
Steps:
1. Read file and understand context
2. Write tests if missing
3. Refactor incrementally
4. Run tests after each step
5. Update documentation
Вызов: /deploy или /refactor src/api/users.ts "extract service layer"
8. Permission Modes — настройка доверия
# Режимы (переключаются в UI или флагами)
# default — спрашивает подтверждение для опасных операций
# auto-accept — автоматически соглашается (для доверенных репо)
# plan-only — только показывает план, не выполняет

# В settings.json
{
  "permissions": {
    "default": "default",
    "allow": ["Read", "Grep", "Glob"],
    "deny": ["Bash(rm -rf*)", "Bash(sudo*)"]
  }
}
9. Полезные алиасы и конфиг
# ~/.bashrc или ~/.zshrc
alias cc='claude'
alias ccp='claude -p'
alias cca='claude -a'

# Экспорт переменных для MCP
source ~/.env.mcp  # DATABASE_URL, BRAVE_API_KEY, GITHUB_TOKEN
10. Ссылки и ресурсы
- Официальный сайт: claude.ai/code
- Документация: docs.anthropic.com/claude-code
- GitHub репозиторий: anthropics/claude-code
- MCP серверы: modelcontextprotocol/servers
- Awesome MCP: punkpeye/awesome-mcp-servers
Краткий чек-лист новичка
claude auth login— авторизация- Создайте
CLAUDE.mdв репо - Настройте
.claude/settings.json(хуки, MCP) - Создайте 1-2 subagents под ваши задачи
- Добавьте slash-команды для рутины
- Попробуйте headless режим в CI